

Editing prices in Bilberry is an essential part of managing your products and tours efficiently. The system lets you update prices for products and for individual availabilities (tour periods), so you can always keep your offerings up-to-date and respond to changes in your costs, market, or strategy.
This guide will walk you through where to find these options and how to edit prices correctly, with pointers on common pitfalls and system behavior.
It is important to know that price changes at the product level only affect future availabilities — if a tour or period is already created, you need to update its price separately inside its own settings.
Edit the Price in Product Settings
-
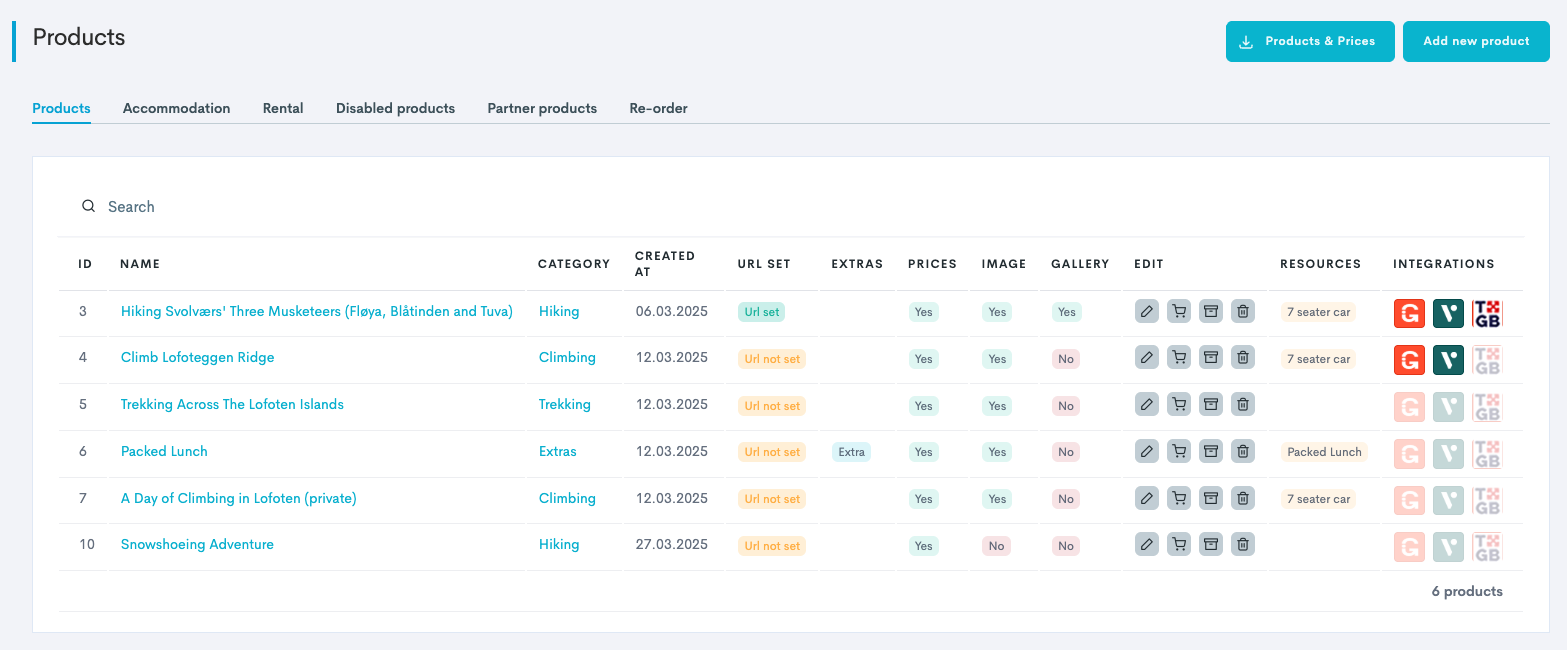
In the left side menu, navigate to Products → Products. This takes you to the Product List.
-
Click the product name or the edit icon

-
Click the Prices tab.
-
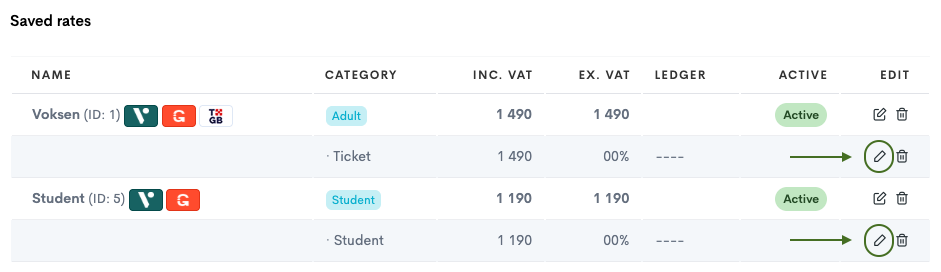
In the Saved Rates section, click the edit icon

-
Click Update to save the changes.
Edit Price for an Existing Availability/Tour Period
After having created availability on a product, it is possible to edit the price of the availability afterwards, through two different starting points.
It is important to know that price changes at the product level only affect future availabilities — if a tour or period is already created, you need to update its price separately inside its own settings as explained below.
1️⃣ Through the Tour Period Settings:
-
In the left side menu, navigate to Projects → Tour periods. This takes you to the general Tour Period List, with all tour periods across all products displayed.
-
In the list, find the tour period to edit and click the

-
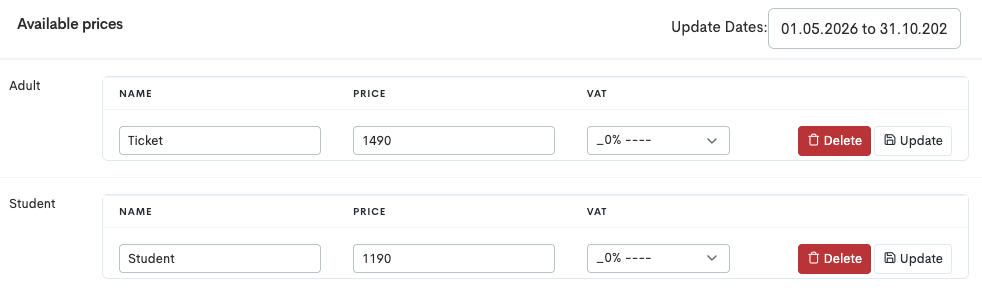
Click Update Dates and select the period in the calendar you want to edit. Default is the whole tour period.
-
In the section Available Prices you will see the different price categories available for the tour.
-
In the Price field of the price type, type in the new price. You can also change the VAT percentage on the ticket.
-
Click Update for every ticket price that is updated.
2️⃣ Through the Product Settings:
-
In the left side menu, navigate to Products → Products. This takes you to the Product List.
-
Click the product name or the edit icon
-
Click the Availability tab. This takes you to the product specific tour period list, with all tour periods of the specific product displayed.
-
In the list, find the tour period to edit and click the
-
Click Update Dates and select the period in the calendar you want to edit. Default is the whole tour period.
-
In the section Available Prices you will see the different price categories available for the tour.
-
In the Price field of the price type, type in the new price. You can also change the VAT percentage on the ticket.
-
Click Update for every ticket price that is updated.
Edit Price Categories
-
In the left side menu, navigate to Products → Settings -> Price Categories.
-
On the Price Category page, you will see:

Archiving (by clicking the bucket ![]()
-
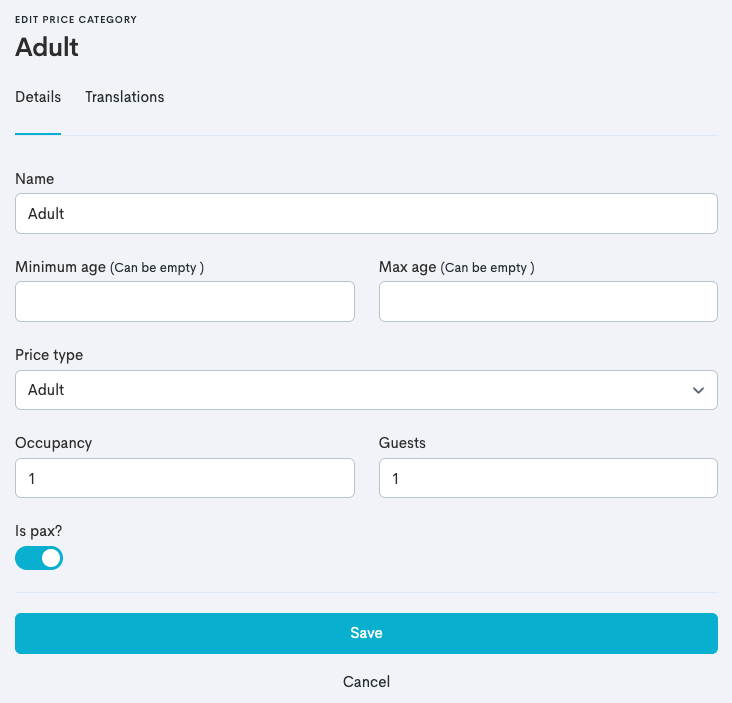
Edit the price category by clicking the category name or the edit icon

-
Update the different setting fields to your needs and click Save.
|
Field |
Description |
|---|---|
|
Name |
The name is what your customer will see in the widget upon booking. |
|
Minimum/Maximum age |
Enables the ticket option to have age restrictions. |
|
Price Type |
This is an internal label for the system to know the difference between the different price categories. Aim to create price categories with different price types. |
|
Occupancy |
This sets how many seats one ticket should take from the total capacity of the tour.
|
|
Guests |
This sets how many guests one ticket should count for when being booked. This is normally the same number as set in the Occupancy field. |
|
Is pax? |
|