

Customers can buy digital gift cards directly through a widget on your website. You can also create and issue gift cards manually from the back office. Each gift card is sent to the recipient by email and can be used as payment at checkout. This gives you full control and an easy way to offer flexible payments to your customers.
Via Your Website
Step 1: Activate Gift Cards
As the first step, it is needed to activate gift cards in the widget settings in Bilberry in order to sell gift cards through your website. Here is how:
-
In Bilberry, in the left main menu, navigate to Widgets.
-
Click Widget Settings.
-
Find and click the Quick Setup tab.
-
Toggle on Activate giftcards and click Save.
Step 2: Embed the Gift Card Button on Your Webpage
Copy and paste the code provided in our widget documentation to the webpage where it should be visible.
Your customer will simply click this button to proceed to the checkout process and purchase a gift card.
Via the Back Office
You can create a gift card manually for your customer in the back office.
Step 1: Create the Gift Card
-
In the left main menu of Bilberry, navigate to Finances.
-
Click Gift Cards and Deposits → Gift Cards.
-
Click Create in the top right corner.
-
Enter all necessary gift card details. See the table below for a detailed description of each field.
-
Click Create.
-
Once the gift card is created, proceed to the steps below to Collect Payment.
The gift card is sent to the customer after the gift card order is registered as paid.
|
Gift Card Field |
Description |
|---|---|
|
Invoice Customer?
|
If your customer would like to pay by invoice, select the customer from the dropdown list. If you do not see them listed here, you will first need to add them as a Customer in the system. You can do this by navigating to the Customers menu in the left sidebar and click Overview → Add new customer. |
|
Name |
The customer’s full name. |
|
|
The customer’s email. This email will receive both the receipt email and the confirmation with the gift card attached. |
|
Gift Card Message
|
This message will display on the gift card. |
|
Amount |
The total value of the gift card. |
|
Sponsored
|
Use this field if your company is covering part of the gift card’s value. This portion will be deducted from the total amount, and your customer will only be charged for the remaining balance. Example: You are selling a gift card valued at 500NOK where 100NOK is sponsored. You would have to enter 500NOK in the Amount field and 100NOK in the Sponsored field. The customer then pays the remaining balance of 400NOK. |
|
Custom Code
|
This gives you the option to use a custom code for your gift card, rather than the code that’s automatically generated. The custom code needs to be unique. ℹ️ If you are new to using Base, this is also useful for transferring gift cards purchased from your previous system into Base. Simply enter the unique code from your old system here. |
Step 2: Collect Payment
When a gift card is created in the back office, the payment method is set to Checkout by default, meaning the customer is expected to pay in person (over the counter). You can either keep this setting or switch to an online payment method to send the customer a payment link via email.
You can collect payment or edit the payment method from the gift card order. You can find the order listed at the bottom of the Gift Cards page, then click the order number (listed in the Invoice column).

You are automatically directed to the Gift Cards page after you create a gift card.
If you need to find this page later, navigate to Finances → Gift Cards and Deposits → Gift Cards.
Option 1 — Checkout Payment
-
Open the gift card order.
-
Click the gear icon

-
Click Mark as Paid.
-
Choose whether to send a receipt to your customer via email.
-
Check the box to send an email.
-
Uncheck the box if you do not want to send an email.
-
-
Click Mark as Paid.
Option 2 — Online Payment
-
Open the gift card order.
-
Click the gear icon
-
Click Set to Online Payment.
-
Enter a Due Date (for when the payment is due).
-
Toggle on or off Bypass Deletion?
-
Toggled On

-
Toggled Off

-
-
Click Set to Online Payment.
-
To send the payment link via email, click the gear icon
-
A small message will pop up confirming that you want to send the email. Click OK to send.
-
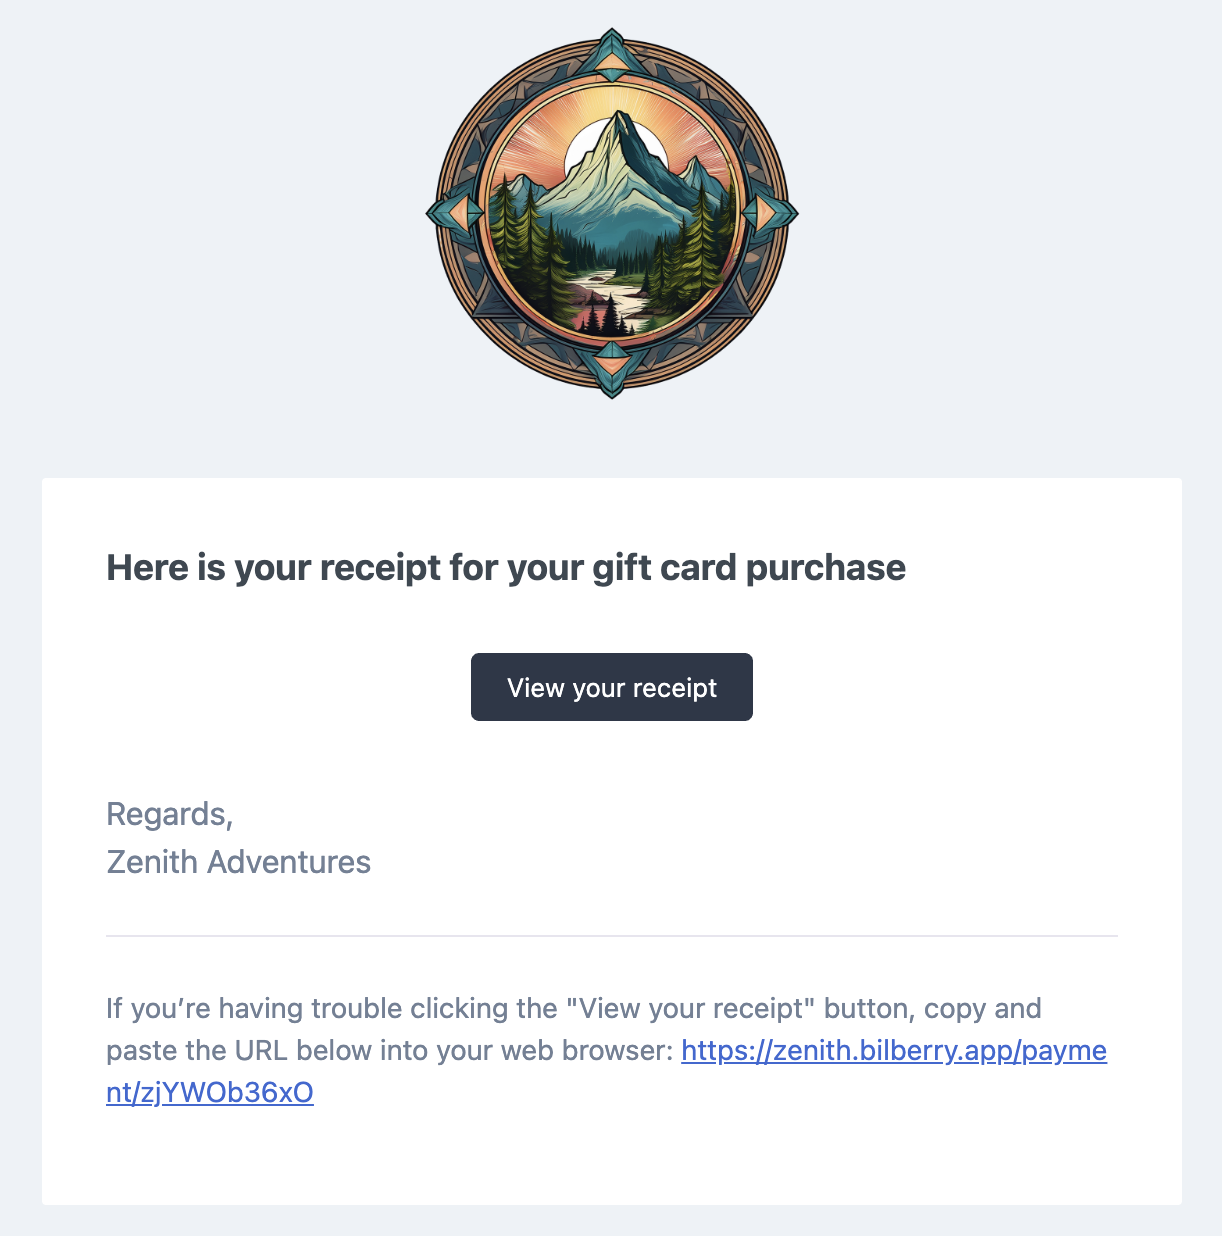
Your customer will then receive the following email below. From there, they click View Your Booking to proceed with the payment process. When they have completed their payment, they will receive a receipt via email.
Tip: You can preview the email being sent to customers! Click the gear icon → Preview mail.